

How To Repair A Broken Leg On A Chair
Repairing a broken chair leg
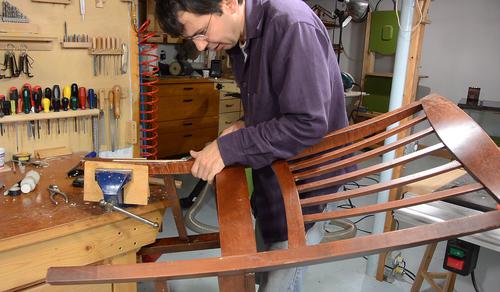
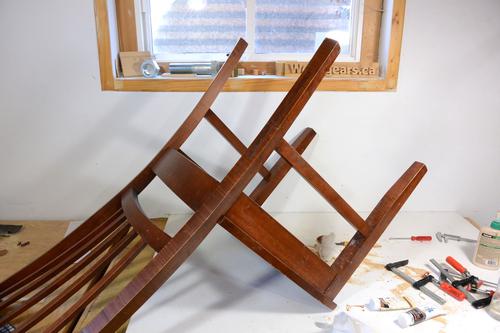
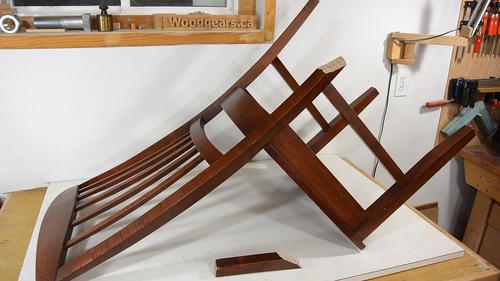 My friend Rick has a set of nice maple dining room chairs. The leg broke off one of these in the process of moving, so he asked me to have a look.
The chairs originally price around $400 each. So it's definitely worth fixing.
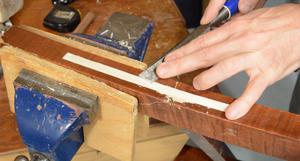
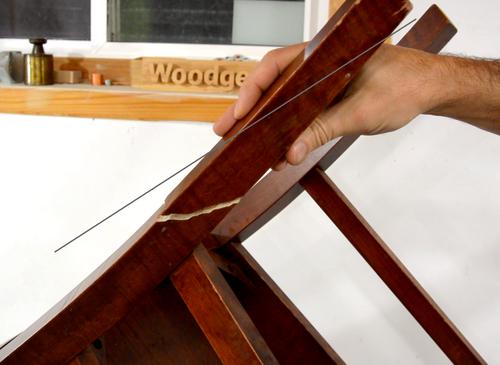 The reason the chair leg broke was that the grain was a fleck crooked. The line on the pic at left shows the management of the original boards, as can be seen by a faint glue line just to a higher place the line on the motion picture. With the curly grain on this piece, the grain direction deviated quite a bit from the board direction, and with the leg at an angle from the lath direction, the grain was at quite an angle compared to the leg.
 Thanks to the curly grain in this piece, lining up and gluing the pieces was easy. And with the gum as strong as the wood, just gluing information technology on makes it skilful as new. Simply with the grain kleptomaniacal as it is, skilful as new really isn't very good.
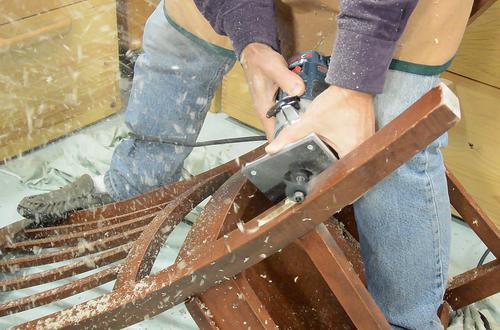
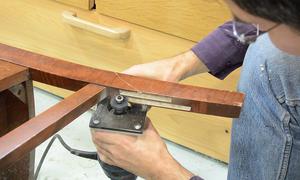 So I cut some channels into the legs to inlay some wood with the grain parallel to the leg. I used a slot cut bit on a palm-sized router. A router with a bigger base would have been better for some of these cuts, but the base would have prevented me from getting close plenty in a few spots.
I hate using a router like that. Sawdust thrown directly at me. Ugh!
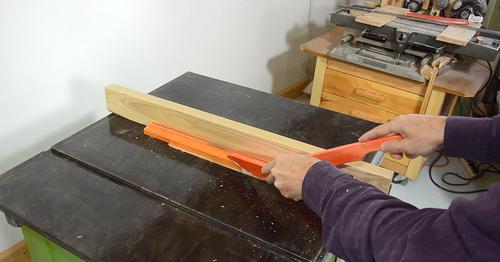
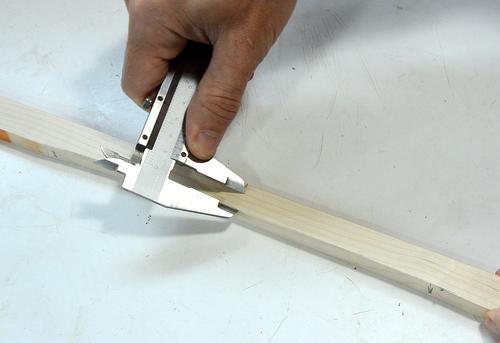
 I then measured the width of the slot and cut some hard maple of just the right width. I'yard using a piece of recycled, and stained maple, that's why it looks so red.
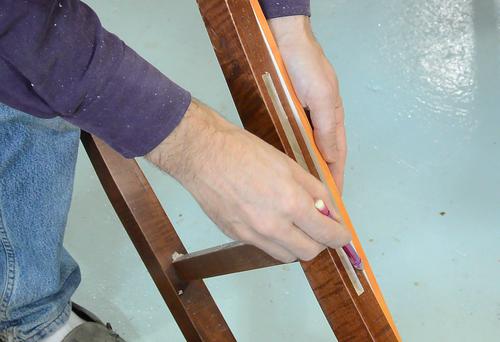
 With the inlay having to follow a curve, I offset past marking the curve off the leg onto my workpiece, then cut to the line on the bandsaw.
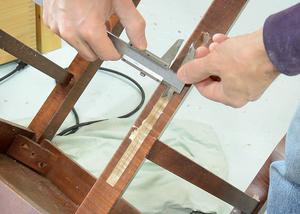
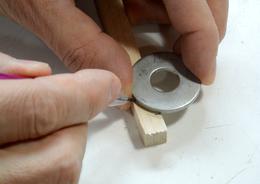 I then measured the depth of the groove, added one-half a millimeter, and scored a line at the right altitude parallel to the curve, and then cut to the line. This gives me the inside curve. For the ends, I used a one 1/4" (30 mm) washer (same diameter as my router bit) to mark a radius, which I and so also cut on the bandsaw.
 gluing the inlay, using an excessive amount of glue, just to brand sure I had all the gaps filled.
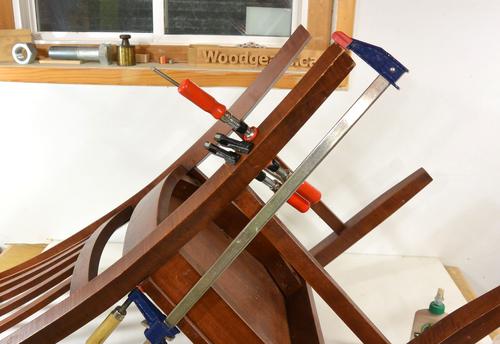
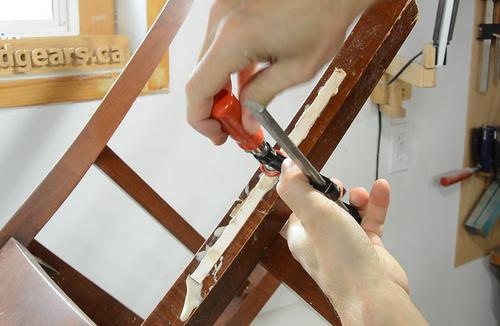
 Later letting the glue dry for a few hours, I clamped the chair in a vise and started chiseling the inlays level with the chair leg.
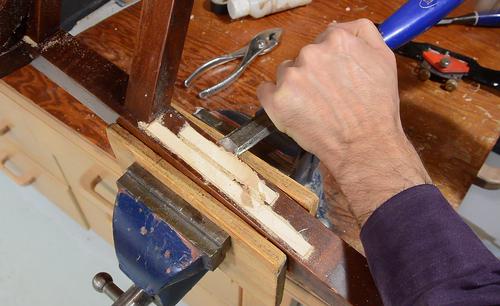
 I clamped the chair's leg in my vise. Hmm, if I clench a leg in a vise, does that brand it a leg vise? I can still say that a swiveling metal vise like this ane is much handier for this awarding than a traditional workbench leg vise would be!
With careful work, it'southward possible to flush trim the wood with a chisel without damaging the surrounding finish — except the spot (near my band finger) where I slipped with the router and gouged the woods.
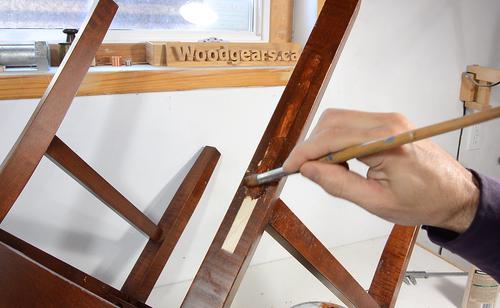
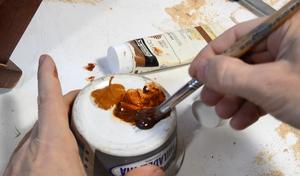 Having some acrylic artist paints sure comes handy for repairs similar this, having the pigment in user-friendly tubes and being able to friction match the colour.
 Finished repair. You can definitely tell at that place was a repair done to this leg, but it doesn't catch your eye unless yous look for information technology.
Article of furniture repair isn't that fun or creative, but it'due south one of the most effective things, in terms of saving money, that you lot tin can practice in a minor home workshop.

Source: https://woodgears.ca/kitchen_chairs/leg_repair.html
Posted by: riverajusholl.blogspot.com
0 Response to "How To Repair A Broken Leg On A Chair"
Post a Comment